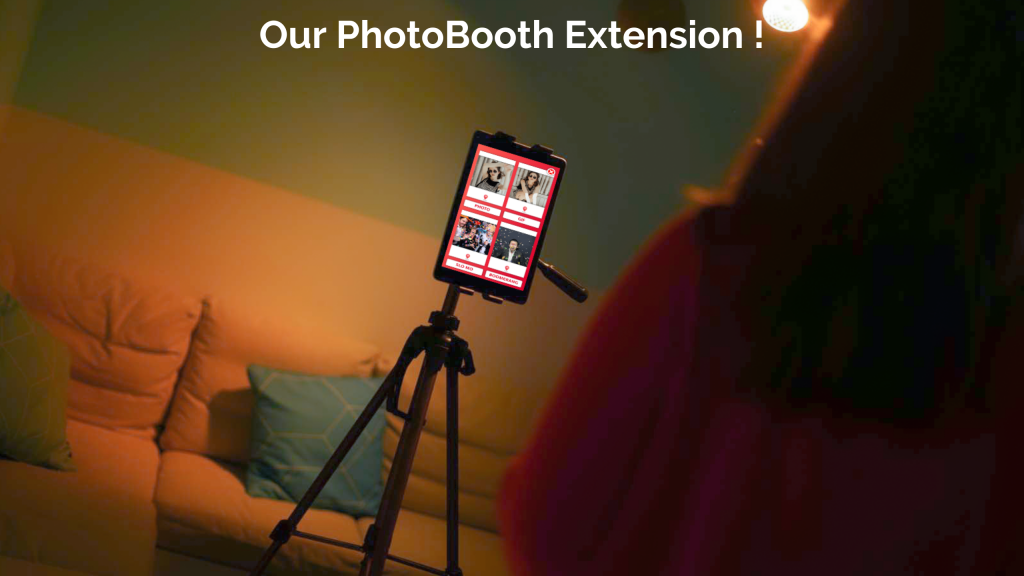
If you also organize or participate in events, you must have noticed this corner object that allows you to immortalize a moment with the guests!
The photo booth/ photomaton became unavoidable on all types of events. It allows to unite the aassembly and immortalize precious moments.
Despite increasingly democratic prices, it requires a bit of logistics and budget.
They are often found in professional events (also called corporate events). However, for a birthday, a wedding, a private or religious party there is a “do it yourself” method that is detailed here!
Step 1: the material!
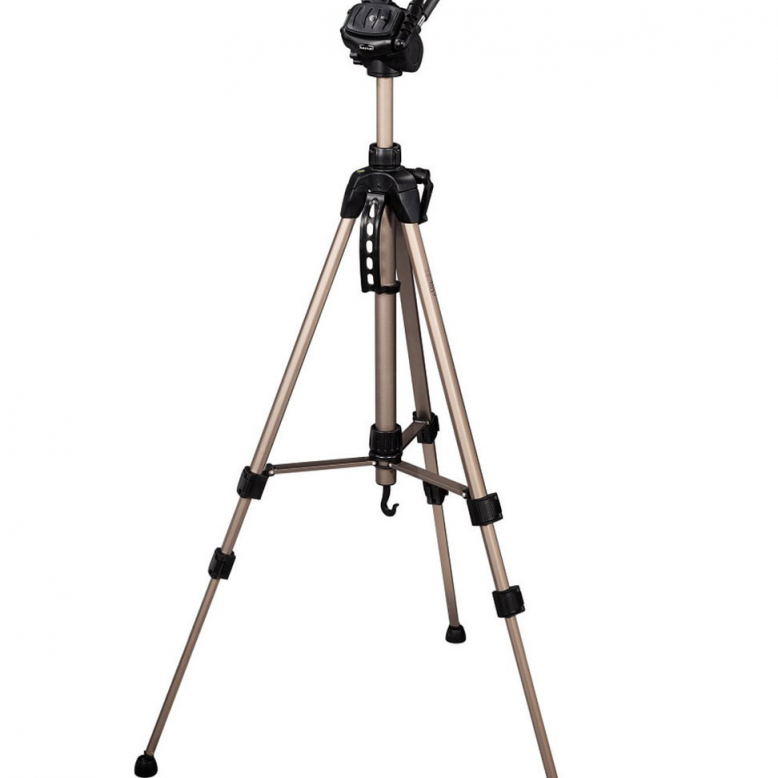
We opted for a camera tripod, the HAMMA Star 61 which can climb up to 1m75 high. On this tripod you can add a weight, so as to make your photo booth more stable and thus avoid it falling. This weight can be a decoration object. Why not hang a lantern there, to illuminate the photo corner dedicated to your home-made photo booth?
We found it at Mediamarkt but you can find it on the internet or at La Fnac. Pay attention to its size; the higher it goes, the more beautiful your photos will be. (You all have in mind this horrible photo taken from below to the last evening …?)
Price: between 20 and 40€

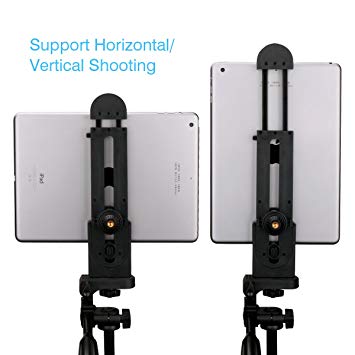
To create your photo booth you need a Tablet adapter to install it. In fact, this type of system is initially designed to receive a digital camera and not a tablet.
Pay attention to the size of the adapter: your tablet should be able to stand upright.
You will find this adapter at Mediamarkt, at La Fnac or on the internet (Amazon, eBay, etc.).
Price: between 8 and 50€

And finally: the tablet!
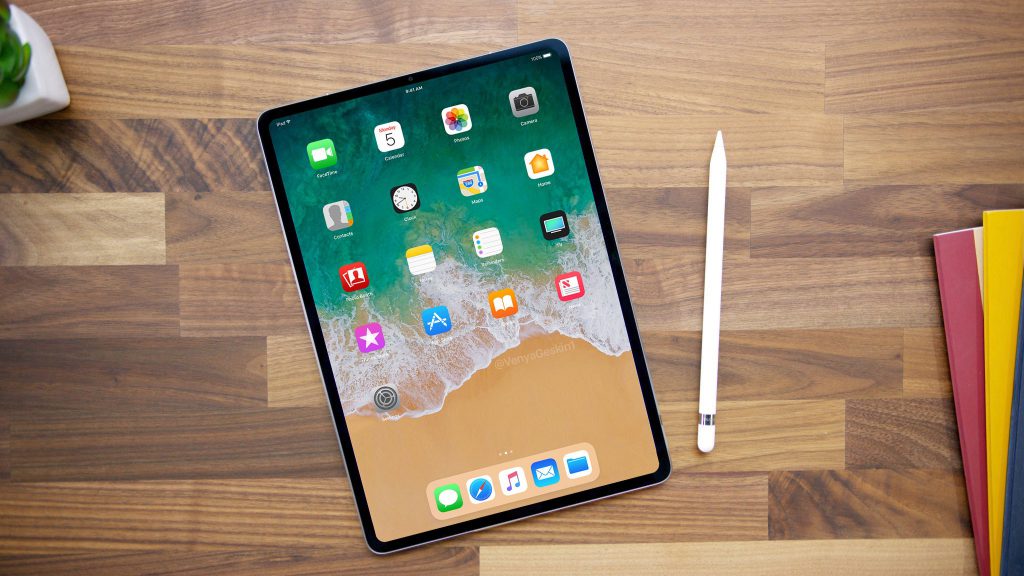
We advise you to use your own, to have one lent to you or simply to rent it.
Be aware that our system does not work well on old Apple tablets (Ipad 1 and Ipad 2) because we cannot update the OS. We are currently working to solve this problem as soon as possible!
In our team, 4 out of 5 people own one. We are sure that you will find one easily.

Step 2: The right free app
Eventer has a Photo booth mode accessible by the event organizer/creator of the Eventer album dedicated to the event.
Create a profile with your email or login via Facebook or LinkedIn Connect
Create your event (event name, location, dates, cover, theme)
Click on the “options menu” in the upper right corner of the event.
Click on “Photo booth” and here you are: your Photomaton is ready for your event!
We advise you to make sure that your tablet’s battery is charged before your event.
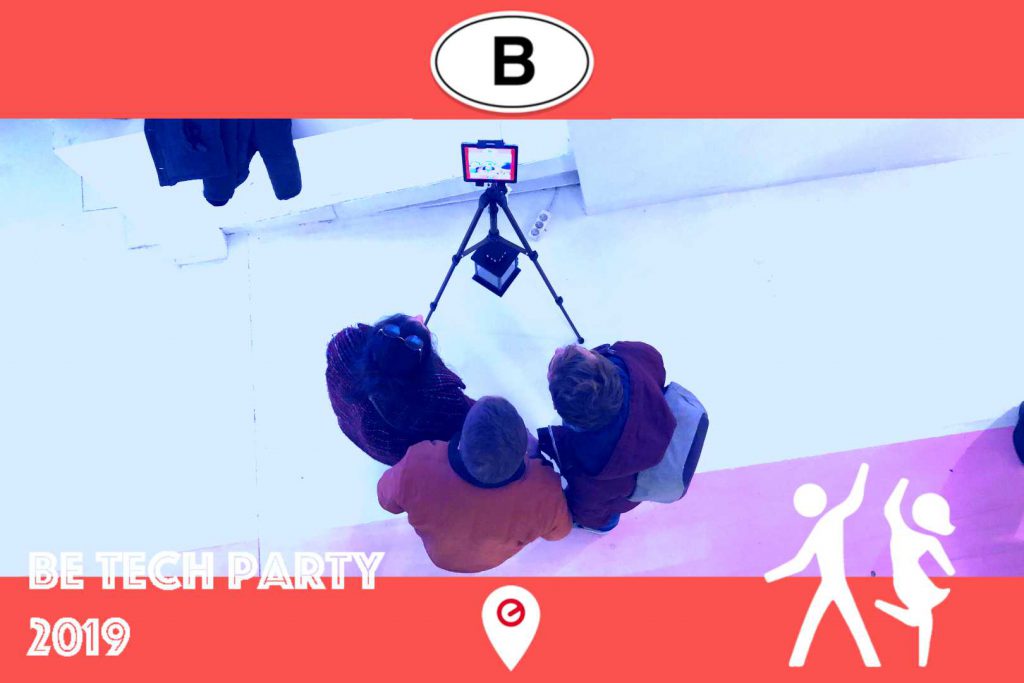

Step 3: content installation and retrieval
Install your photo booth in a strategic corner, in front of a beautiful background for a guaranteed WHAOUW effect!
Remember to bring some accessories (hats, glasses, wigs, frames, etc.) so that your guests can play with them on the photos!
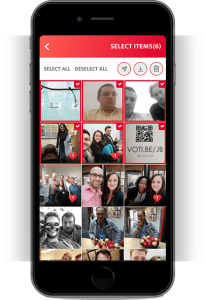
Your guests will not need to type in their email address to receive the photos as it is often the case on known photo booth systems! They can access it directly and simply by joining the digital album dedicated to your event on the FREE Eventer app.
To do so: they download the FREE app during the event and access it through geolocation. They can then add the photos, videos taken from their smartphones to the contents of the photo booth to complete the album!
You can then like, comment, download and share all your favorite content!
No more queues and access to the album for life!


PRINTING:
Finally, at Eventer, we are pro-whole digital and the simplicity in this direction (participants should not add their email address every time because the photo is directly accessible in the application).
We do not think that printing is the future of the photo booth unlike experience. Also, for ecological reasons, the printing of 300 A7 on photo paper seems to us to be a nonsense.
So we decided not to talk about printing, and we’re noticing that more and more photo booth providers aren’t doing that either. However, nothing prevents you on Eventer from downloading and then printing your favorite photos.

The photo booth cost us less than 50€.
If you want a custom filter, in the colours of your theme, don’t hesitate to contact us!
